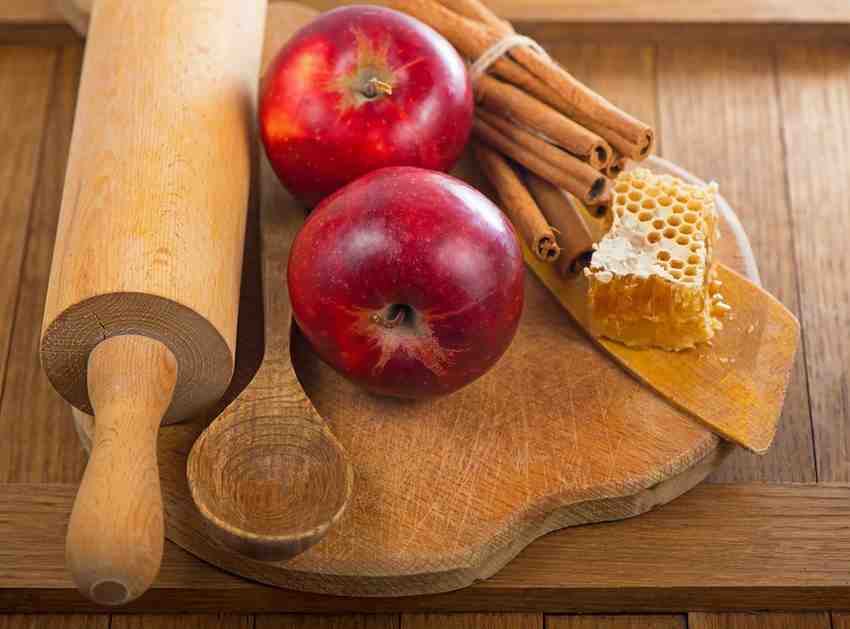
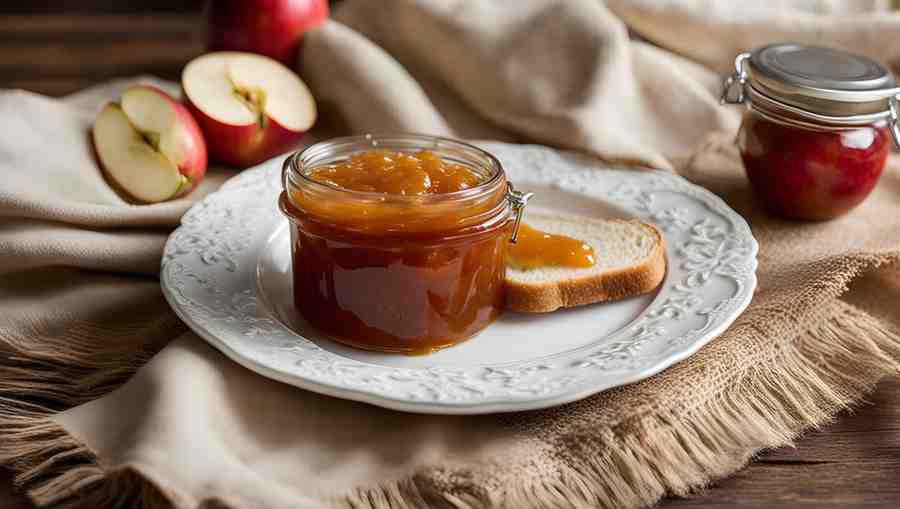
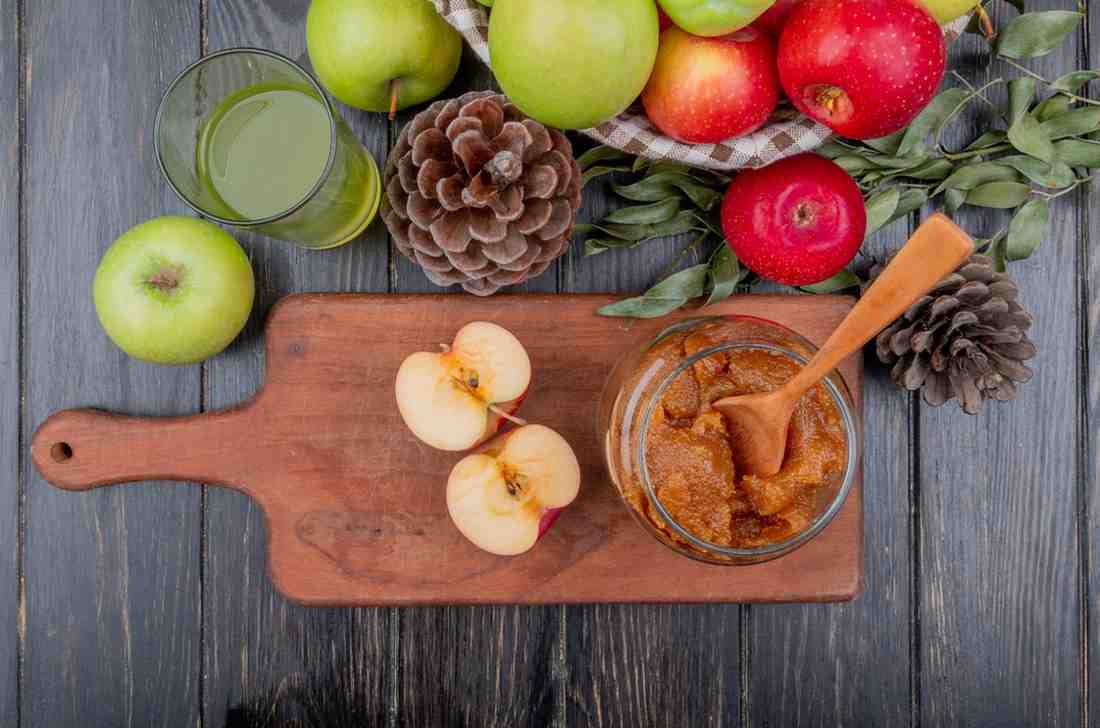
Spiced apple butter is a rich, velvety spread made by slow-cooking apples until they break down into a smooth, buttery consistency. The addition of spices such as cinnamon, cloves, nutmeg, and allspice transforms this classic apple spread into a warm, aromatic delight, perfect for fall. Traditionally, apple butter is a favorite spread for toast, biscuits, and scones, but it can also be used in baked goods or as a glaze for meats like pork or chicken. The slow cooking process concentrates the apples’ sweetness and enhances the rich spiced flavors, making it a comforting and versatile treat.
Key Ingredients for Spiced Apple Butter
Choosing the Best Apples
The type of apples you choose for your spiced apple butter can significantly affect the final flavor. A mix of sweet and tart apples works best, as it provides a well-rounded balance of flavors.
- Granny Smith: Tart and crisp, these apples help balance the sweetness of the other ingredients.
- Fuji: Known for their natural sweetness, Fuji apples enhance the overall flavor of the butter.
- Honeycrisp: Another sweet variety that complements the tartness of Granny Smith, creating a smooth and flavorful butter.
Using a variety of apples ensures that your spiced apple butter has a deep, rich flavor with a perfect balance of tart and sweet.
Essential Spices for Flavor
Spices are what give apple butter its distinct fall flavor. Here are the key spices used:
- Cinnamon: The backbone of spiced apple butter, cinnamon adds warmth and depth.
- Cloves: A powerful spice, cloves provide an aromatic and slightly sweet flavor, but should be used sparingly.
- Nutmeg: Nutmeg offers an earthy, nutty undertone that pairs perfectly with the sweetness of the apples.
- Allspice: Allspice is a mix of cinnamon, clove, and nutmeg flavors, making it an ideal addition to round out the spice profile.
- Vanilla: Adding a small amount of vanilla extract at the end of the cooking process gives the apple butter a smooth, sweet finish that ties all the flavors together.
Step-by-Step Cooking Methods
Slow Cooker Method
One of the easiest ways to make spiced apple butter is using a slow cooker. This method requires minimal effort and allows the flavors to slowly develop over several hours.
- Prepare the Apples: Peel, core, and slice your apples. You’ll need about 5-6 pounds of apples for a standard batch.
- Add Ingredients: Place the apple slices in the slow cooker and add brown sugar, cinnamon, nutmeg, cloves, and allspice. Optionally, add a splash of apple cider for added flavor.
- Cook on Low: Set the slow cooker to low and let the apples cook for 8-10 hours. Stir occasionally to ensure even cooking.
- Blend: Once the apples have broken down and softened, use an immersion blender to puree the mixture until smooth. If you prefer a chunkier texture, you can leave some apple pieces unblended.
- Reduce: Continue cooking with the lid off for another 1-2 hours to thicken the butter. Stir occasionally to prevent sticking.
- Jar and Store: Once the apple butter reaches the desired thickness, let it cool slightly before spooning it into sterilized jars.
Stovetop Method
For those who prefer a more hands-on approach, the stovetop method is a traditional way to make spiced apple butter.
- Prepare the Apples: Peel, core, and chop apples into small pieces. Place them in a large pot or Dutch oven.
- Add Ingredients: Add brown sugar, cinnamon, nutmeg, cloves, and allspice to the apples. Pour in a bit of water or apple cider to prevent the apples from sticking.
- Simmer: Cook the apples over medium heat, stirring frequently to prevent them from burning. The apples will begin to break down after about 45 minutes.
- Blend: Use an immersion blender or transfer the apple mixture to a blender to puree until smooth.
- Reduce: Return the apple butter to the pot and simmer on low heat until it thickens, stirring occasionally to avoid burning.
- Jar and Store: Once the apple butter reaches your desired consistency, remove it from the heat and store it in sterilized jars.
Ingredients
- 5.5 lbs (2.5 kg) soft, sweet apples (e.g., Golden Delicious, McIntosh, Fuji, Gala), cored and chopped into small pieces (about ¼”)
- 1 cup (200 g) brown sugar, firmly packed
- ¾ cup (150 g) granulated sugar
- 1 tablespoon ground cinnamon
- ¼ teaspoon salt
- ⅛ teaspoon ground cloves
- 1 vanilla bean (or 1½ teaspoons vanilla extract)
Flavor Enhancements and Adjustments
Sweeteners
There are several sweetener options for spiced apple butter, and each affects the flavor differently:
- White Sugar: The classic choice, white sugar keeps the flavor neutral and allows the spices to shine.
- Brown Sugar: Adds a rich, molasses-like flavor that pairs beautifully with the warm spices.
- Maple Syrup: For a more natural sweetness, try using maple syrup. It adds depth and enhances the fall flavors of the spices.
If you prefer a less sweet apple butter, you can reduce the amount of sweetener or substitute with a sugar-free option like stevia.
Customizing Spice Levels
Adjusting the spice levels is an easy way to customize your apple butter:
- More Cinnamon: For a warmer, cozier flavor, increase the amount of cinnamon.
- Extra Cloves or Nutmeg: If you prefer a spicier kick, a bit more ground cloves or nutmeg will do the trick.
- Pumpkin Pie Spice: For an extra seasonal touch, consider adding a teaspoon of pumpkin pie spice to give your apple butter a full, autumnal flavor.

Canning and Storing Spiced Apple Butter
Preserving your homemade spiced apple butter through canning is a fantastic way to enjoy the flavors of fall year-round. Proper canning ensures that your apple butter stays fresh and safe for months, or even years. In this guide, we’ll cover everything from sterilizing jars to the water bath canning method, as well as tips on long-term storage and troubleshooting common issues.
Preparing for Canning
Sterilizing Jars and Lids
One of the most crucial steps in canning is ensuring that your jars and lids are properly sterilized. This prevents bacteria and other contaminants from spoiling your apple butter, ensuring it stays safe to eat for months. Here’s how to sterilize your jars effectively:
- Wash the Jars: Begin by washing your canning jars and lids with hot, soapy water. Rinse them thoroughly to remove all soap residue.
- Boil the Jars: Place the clean jars into a large pot or canner filled with water. Make sure the jars are fully submerged. Bring the water to a boil and let the jars boil for at least 10 minutes. This sterilizes the jars and kills any bacteria that may be present.
- Prepare the Lids: Unlike the jars, you don’t need to boil the lids. Simply submerge the lids in hot (not boiling) water to soften the rubber seals, making them ready for a secure seal during the canning process.
After sterilizing, leave the jars in the hot water until you’re ready to fill them, ensuring they stay clean and sterile.
Preparing the Apple Butter for Canning
Once your apple butter has finished cooking, it’s important to keep it hot and prepare it properly for canning:
- Keep the Apple Butter Hot: Your apple butter should remain warm throughout the canning process. This prevents any bacteria from growing before the jars are sealed.
- De-bubble the Jars: After ladling the apple butter into your sterilized jars, use a de-bubbling tool or a plastic spatula to gently remove any trapped air bubbles. Air bubbles can interfere with the sealing process, leading to improper storage.
- Headspace: Ensure you leave about ¼ inch of headspace at the top of each jar. This space allows the apple butter to expand slightly during the canning process, ensuring a proper seal.
Canning Methods

Water Bath Canning Method
The most reliable method for canning apple butter is the water bath method. It’s simple and effective, ensuring your apple butter remains safe for long-term storage. Here’s how to do it:
- Fill the Jars: Using a ladle and a funnel, carefully fill the sterilized jars with hot apple butter. Be sure to leave the recommended ¼ inch of headspace.
- Seal the Jars: After filling, wipe the rims of the jars with a clean, damp cloth to remove any residue. Place the lids on the jars and screw the bands on until they are just fingertip tight.
- Submerge the Jars: Place the filled jars into the water bath canner, ensuring that the water covers the tops of the jars by at least 1 inch. If you’re using a pot, make sure the water is boiling before you add the jars.
- Process the Jars:
- Process the jars for 10 minutes if you’re below 1,000 feet in elevation.
- If you are above 1,000 feet, increase the processing time based on your altitude (refer to a canning chart for accurate times).
- Cool and Check the Seals: After processing, remove the jars from the water bath and place them on a towel-lined surface. Let them cool for 12-24 hours without touching the lids. As they cool, you should hear a “ping” sound, indicating that the jars are sealed properly.
Cooling and Sealing the Jars
After the jars have cooled, it’s time to check the seals:
- Test the Seal: Press down on the center of each lid. If it does not move or pop back, the jar is sealed properly. If it flexes or moves, the jar did not seal, and you’ll need to reprocess it or refrigerate the apple butter for immediate use.
- Storing Sealed Jars: Once you’ve confirmed that the jars are sealed, remove the bands and store the jars in a cool, dark place. Removing the bands prevents any accidental loosening during storage, which can lead to contamination.
Storing and Shelf Life
Properly canned apple butter can last up to 18 months when stored in ideal conditions. Here are a few tips for storing your jars:
- Cool, Dark Place: Store your jars in a cool, dark pantry or cupboard. Sunlight and temperature fluctuations can affect the quality of the apple butter and compromise the seals.
- Freezing Apple Butter: If you don’t want to can your apple butter, freezing is a great alternative. Just make sure to use freezer-safe containers, and leave some room for expansion. Frozen apple butter can last up to 6 months.
- After Opening: Once a jar is opened, store it in the refrigerator and use it within 2-3 weeks.
Tips and Notes for Perfect Spiced Apple Butter
| Tip | Note |
|---|---|
| Use Mixed Apple Varieties | For a balanced, rich flavor. Combining sweet and tart apples creates a deeper, more complex taste. |
| Sterilize Jars | To prevent contamination. Boil jars for 10 minutes to kill bacteria and ensure long-term preservation. |
| Adjust Sweetness to Taste | Use maple syrup for a deeper, more natural flavor. Maple syrup adds a caramel-like richness that enhances the spices. |
| De-bubble the Jars | To ensure proper sealing. Remove air bubbles before sealing to prevent spoilage and ensure a tight seal. |
| Store in a Cool, Dark Place | Extend the shelf life up to 18 months. Proper storage keeps apple butter fresh and maintains quality. |
FAQs about Spiced Apple Butter and Canning
What apples are best for apple butter?
Use a mix of sweet and tart apples like Granny Smith and Fuji for a balanced flavor.
Can I adjust the spices?
Yes, increase or decrease spices like cinnamon and cloves to match your taste. Try adding ginger or cardamom for a unique twist.
How long does canned apple butter last?
Properly canned apple butter lasts up to 18 months. Once opened, refrigerate and use within 2-3 weeks.
Can I freeze apple butter instead of canning?
Yes, apple butter freezes well for up to 6 months. Just use freezer-safe containers and leave room for expansion.
Do I need to peel the apples?
Peeling is optional. Leaving the skins on can add extra fiber, but it may affect the texture.
Can I use less sugar?
Yes, you can reduce the sugar or substitute with maple syrup for a more natural sweetness.

