A wild yeast starter is essential for creating sourdough bread, utilizing natural fermentation to capture wild yeast from the environment. Unlike commercial yeast, wild yeast brings a complex, tangy flavor, and is known for its digestive benefits. The fermentation process enhances the nutritional profile of bread, making it easier to digest. By following the steps below, you can cultivate your own wild yeast starter at home, using just flour and water. With proper care, a starter can last indefinitely, providing fresh bread for years to come. Here’s how to get started
Historical Facts About Yeast and Its Origin
Yeast has a long and fascinating history, playing a critical role in both baking and brewing for thousands of years. Here are some key historical facts about yeast and its origin:
Yeast in Modern Times: Today, yeast plays a central role in both artisanal and industrial baking, as well as brewing and winemaking. While commercial yeast is widely available, the recent resurgence of sourdough and wild yeast starters reflects a return to traditional fermentation methods, similar to those practiced by our ancestors..
Ancient Beginnings: The use of yeast in fermentation dates back to ancient civilizations. Archaeological evidence suggests that the Egyptians were using wild yeast to bake leavened bread as far back as 4,000 BCE. These early bakers unknowingly harnessed natural fermentation from wild yeast present in their environment.
Discovery in Brewing: Yeast was also central to early brewing practices. The Sumerians, around 3,000 BCE, were brewing beer, which relied on wild yeast to ferment grains and sugars. They likely stumbled upon fermentation by leaving grain mixtures out in the open air, allowing yeast to settle and begin the fermentation process.
Louis Pasteur’s Contribution: Yeast’s role in fermentation wasn’t scientifically understood until the mid-19th century. In 1857, French chemist Louis Pasteur discovered that yeast is a living organism responsible for fermentation. His groundbreaking work demonstrated that yeast converts sugars into alcohol and carbon dioxide, revolutionizing both the baking and brewing industries.
The Industrialization of Yeast: By the late 19th century, yeast production became more commercialized. In the 1860s, Austrian scientist Baron Justus von Liebig and his team developed a process to mass-produce yeast for industrial use. This development allowed for consistent and reliable baking, giving rise to modern bread-making techniques.
What is a Wild Yeast Starter?

A wild yeast starter is a living culture made by combining flour and water, which captures wild yeast and bacteria from the environment.
- Natural fermentation: The yeast consumes the sugars in the flour, releasing carbon dioxide and alcohol, which help leaven the dough.
- Difference from commercial yeast: Wild yeast is natural, while commercial yeast is isolated and cultivated in a lab.
- Slower fermentation process: This results in a richer flavor and better texture in bread.
- History: Used for thousands of years, wild yeast has become popular again in the rise of artisan bread baking.
Benefits of Using Wild Yeast
Wild yeast offers several benefits:
- Improved digestion: The fermentation process breaks down gluten, making it easier to digest.
- Enhanced flavor: Sourdough made from wild yeast has a complex, tangy flavor.
- Versatile: Use wild yeast for various baked goods, not just bread.
- Sustainable: You can maintain a starter for years with regular feeding, reducing reliance on commercial yeast.
Ingredients You’ll Need
Here are the basic ingredients and tools required to create a wild yeast starter:
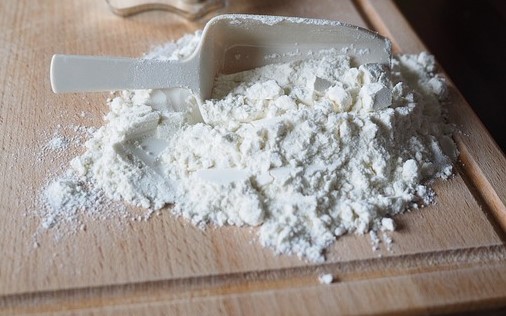
- Flour: Whole wheat or rye is best to start with as they promote yeast growth.
- Water: Use filtered or bottled water. Avoid tap water with chlorine.
- A clean jar: Use a clear glass or plastic container to monitor fermentation.
Flour Selection for Wild Yeast
Choosing the right flour is key to success:
- Whole wheat or rye: Ideal for starting the culture due to their nutrient density.
- Organic flour: Contains more natural microorganisms.
- Unbleached white flour: Once the starter is active, you can switch to this for feeding to create milder flavors.

Step-by-Step Guide to Making a Wild Yeast Starter
Day 1: Begin the Process
To start your wild yeast culture:
- Combine 100 grams of whole wheat flour with 100 grams of water.
- Stir until smooth, with no dry flour remaining.
- Cover the jar loosely with a cloth or lid to allow airflow.
- Place the jar in a warm spot (70-75°F) for 24 hours.
You might not see any activity on the first day, but the yeast is starting to develop.
Day 2-3: Feeding the Starter
On day 2 or 3:
- Discard half of the starter mixture.
- Add 100 grams of fresh flour and 100 grams of water.
- Stir well and cover loosely again.
- Leave it in a warm spot for another 24 hours.
Look for small bubbles forming, which are signs of fermentation. This means the yeast is growing.
Day 4-7: Maturation
By days 4-7:
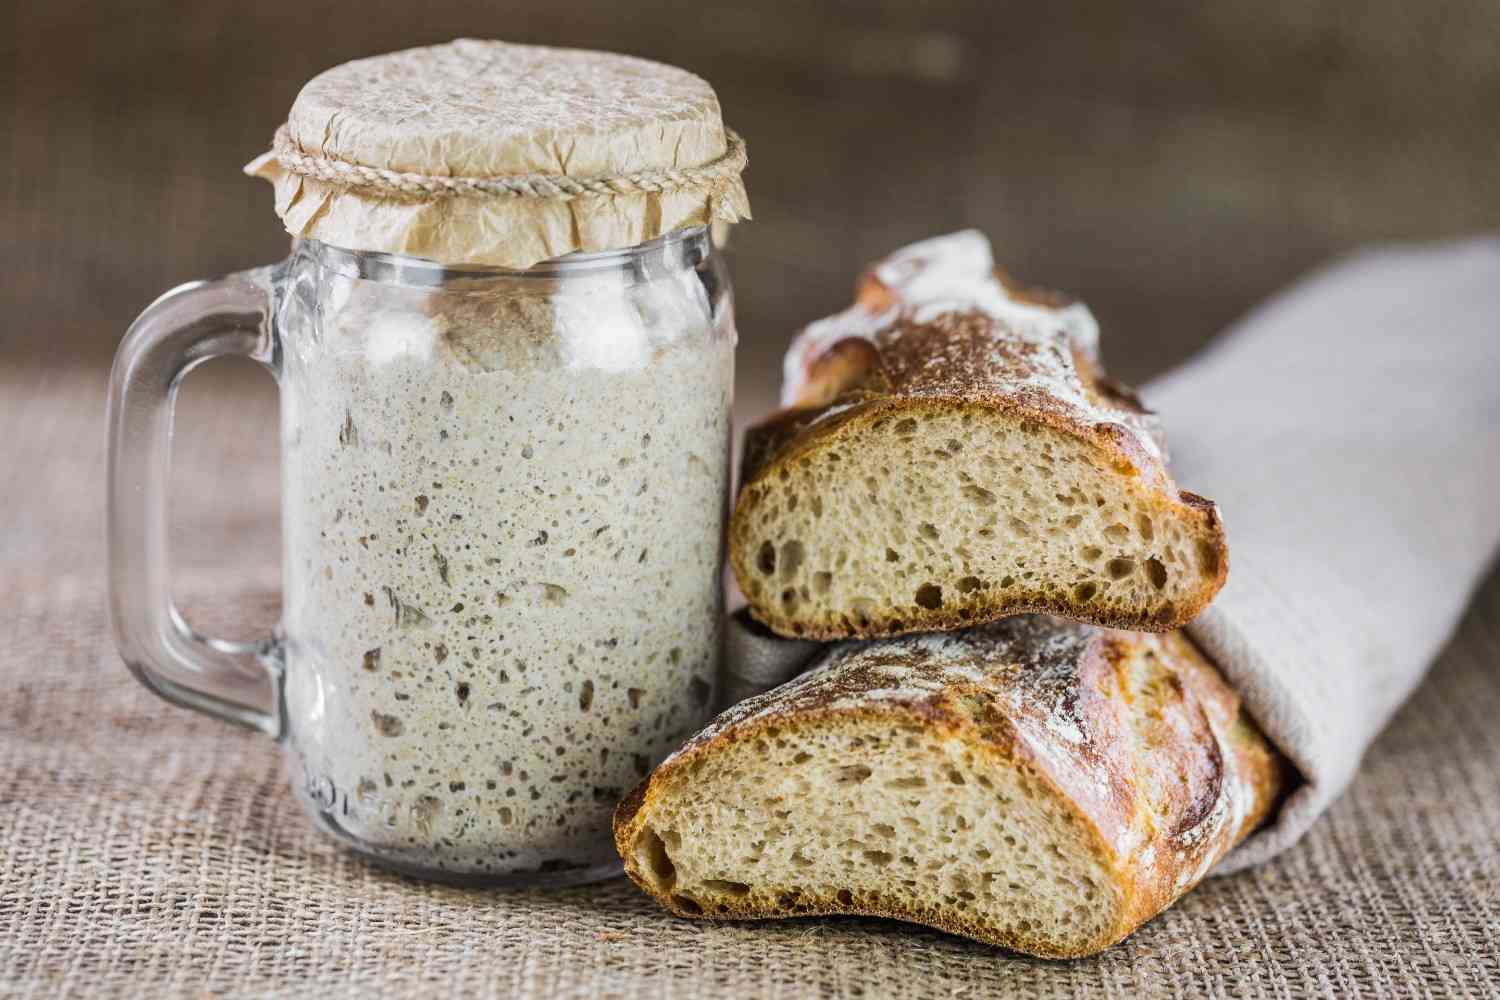
- The starter should be visibly more active, with consistent bubbling.
- Continue feeding daily: discard half, and feed 100 grams of flour and water.
- The starter should double in size within 4-6 hours after each feeding.
Once it consistently rises and bubbles within this time frame, your starter is ready to use. The aroma should be pleasant and slightly tangy.
How to Use Your Wild Yeast Starter in Baking
When your wild yeast starter is active, it’s ready for baking:
- Substitute for commercial yeast: Use about ½ cup of starter for 1 packet of commercial yeast in recipes.
- Adjust hydration: The starter contains flour and water, so tweak your recipe’s liquid accordingly.
- Proofing: Allow your dough to proof for several hours or overnight to develop flavor.
Using a wild yeast starter gives your baked goods a more complex flavor and better texture.
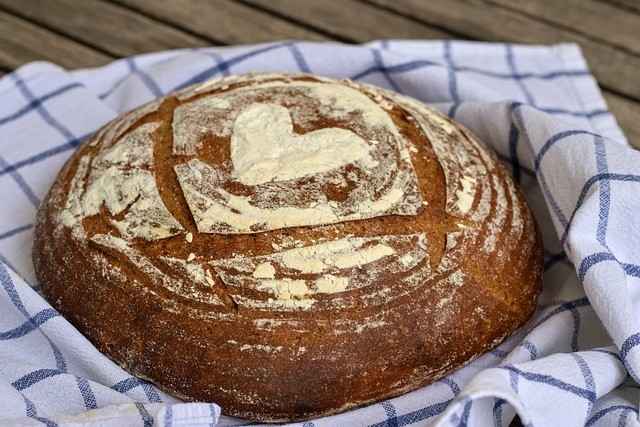
Sourdough Bread Recipe Using Wild Yeast Starter
Here’s a basic recipe to use your wild yeast starter:
- Ingredients:
- 3 ½ cups flour
- 1 ¼ cups water
- 1 cup active starter
- 1 tsp salt
- Instructions:
- Mix ingredients until a shaggy dough forms.
- Knead for 10 minutes.
- Let rise for 4-6 hours or until doubled in size.
- Shape into a loaf, proof for another 1-2 hours.
- Bake at 450°F for 30-35 minutes until golden brown.
Troubleshooting Common Problems with Wild Yeast Starter

Creating and maintaining a wild yeast starter can sometimes present challenges, but most issues are easily fixable with the right knowledge. Below are common problems you may encounter and how to address them.
How to Revive a Weak Starter
A weak starter can be caused by a variety of factors such as insufficient feeding, improper hydration, or unfavorable environmental conditions. To revive a sluggish starter:
- Increase feeding frequency: Feed the starter twice a day, discarding half and adding fresh flour and water.
- Switch flour types: Consider using whole wheat or rye flour temporarily to boost yeast activity.
- Warm environment: Ensure your starter is kept in a warm spot (70°F to 75°F). If the temperature is too low, the yeast will become inactive.
After a few days of consistent care, the starter should become more active.
Dealing with Mold and Spoilage
Mold is a rare but serious problem with wild yeast starters. If you notice mold (green, black, or pink fuzzy growth) or an extremely foul odor, it’s best to discard the starter. To prevent spoilage:
- Keep the container clean: Regularly clean the jar to prevent contamination.
- Proper airflow: Ensure the jar is loosely covered to allow airflow but prevent dust or debris from falling in.
- Use clean utensils: Always use clean spoons or hands when handling the starter to avoid introducing unwanted bacteria.
If your starter has developed a mild off-smell (like alcohol or vinegar), feed it more frequently to restore balance.
How to Store and Maintain a Wild Yeast Starter
Maintaining your wild yeast starter involves regular feeding, but you can also store it for short or long periods if you need a break from baking. Here’s how to store and keep your starter healthy.
Short-Term Storage
If you won’t be using your starter for a week or less, short-term storage is simple:
- Refrigeration: Place the starter in a covered jar in the fridge. It will go dormant but remain alive.
- Feeding schedule: You only need to feed it once a week while it’s refrigerated. Take it out, feed it with equal parts water and flour, then return it to the fridge.
Before using the starter again, take it out, feed it twice a day for a day or two to reactivate it.
Long-Term Storage
For long-term storage, there are two primary methods:
- Freezing the starter: You can freeze your starter by placing it in an airtight container. It can be stored this way for up to a year. When you’re ready to use it again, thaw it in the fridge and start feeding it twice daily for 2-3 days until active.
- Drying the starter: Spread a thin layer of starter on parchment paper and let it dry completely. Store the dried flakes in an airtight container. To reactivate, add equal parts water and flour and feed over several days until the starter is active again.
Tips and Notes for Making Natural Yeast
Here are some additional tips and notes to ensure success with your wild yeast starter:
| Tip/Note | Details |
|---|---|
| Use unbleached flour | Unbleached flours retain more nutrients and microorganisms, promoting healthier yeast growth. |
| Feed consistently | Regular feeding is essential to maintaining a healthy starter. Once it’s mature, feed it at least once a day if kept at room temperature. |
| Watch for activity | Look for bubbles and rising to gauge activity. A healthy starter will rise and fall predictably after each feeding. |
| Use filtered water | Chlorine in tap water can hinder yeast growth. Always use filtered or bottled water for best results. |
| Adjust feeding for climate | In colder climates, feed the starter less frequently (once daily); in warmer environments, more frequent feedings may be necessary to maintain activity. |
| Be patient | It can take several days for your starter to become fully active. Slow starters often just need more time and consistent care. |
| Monitor temperature | Yeast thrives in warm environments (70-75°F). If your home is cooler, consider placing the starter in a warmer spot to encourage growth. |
| Discard isn’t waste | Use the discarded starter in recipes like pancakes, waffles, or even as a natural leavening agent for other baked goods. |
| Change to white flour later | After the first week, you can transition to white flour for feeding, as it creates a milder taste, ideal for baking a variety of bread types. |
| Watch for alcohol smell (hooch) | A thin layer of alcohol (hooch) may form on the surface if the starter is underfed. Simply stir it back in and feed the starter more frequently. |
| Avoid metal utensils | Always use glass, plastic, or wooden utensils when handling your starter, as metal can react with the acidity and affect the fermentation process. |

